
For our project to work, we needed our Daphnia and Amphipods but if we just released our precious algae removers into the reservoir, they would have died because both Daphnia and Amphipod are "perfect" food for fish. That didn't stand in our way we reverted to our senior method - using Chinampas ("Floating Islands"). We didn't just go make the model - we needed to make a plan and do steps before hand to make it to that point. First, we needed to make designs for to make our prototype. When we found (a) stable design /designs that we felt comfortable with, we made our first prototype. We found errors for example; in almost all of our prototypes the Amphipods either escaped or died. Later on, we figured out a way to make the Amphipods stay inside, and allow them to clean algae water without them escaping. After we found a stable prototype, we made our model chinampa. Finally, at the point we are now at - even though our model has errors we are currently trying to fix, we put our chinampa in the reservoir. Look at the progress if you dare!!!
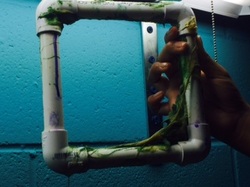
Our Algae Chinampa Prototype!
Our chinampa design was based off of our senior's design Project Reservoir's very own Solar Aerators.
We are making little chinampas at first, so we can do experiments.
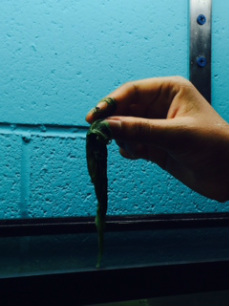
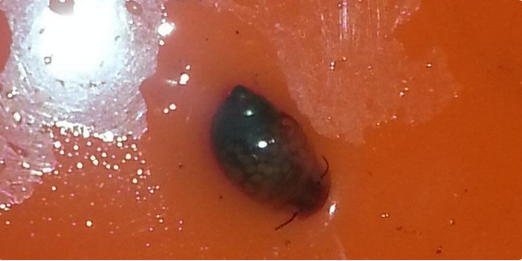
We put around 41 Daphnia and Amphipods all together.
We put around 41 Daphnia and Amphipods all together.
We were building a small chinampa (floating biofiltration system) that uses project reservoir technology of floating pvc island that can be a base for planting plants or placing technology to improve water quality. Go to the Chinampa page to learn more about our design.
Test #1
This is when we first tested out the chinampas in the tank.
As you can see here, our material didn't work. At first, it was going well but then the Amphipod population started to fade away, when we realized it, all the Anthropoids were already dead, and we came up with multiple theories and ending up saying the Amphipod got stuck and died in the material
We thought our material was perfect for the chinampas, but after a few days the material started getting soft and green. However, our theory is that some algae must have gotten stuck in the net and the Anthropoids must have eaten it.
Test #2
This is the second one we made. Hopefully this one will not break apart like the last one.
What a great success on this chinampa! It wont sink at all, now all we have to do is test it out with the daphnia and amphipods.
Test #3
We redesigned our chinampa to include low cost materials, and no netting. We were having too many problems with the netting with both the amphipods and daphnia.
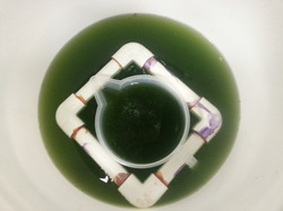
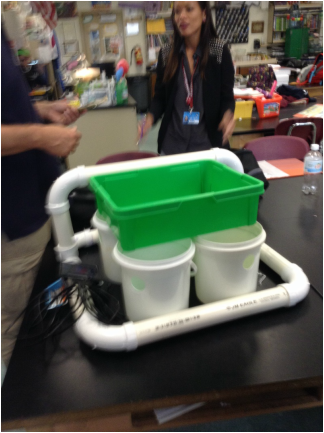
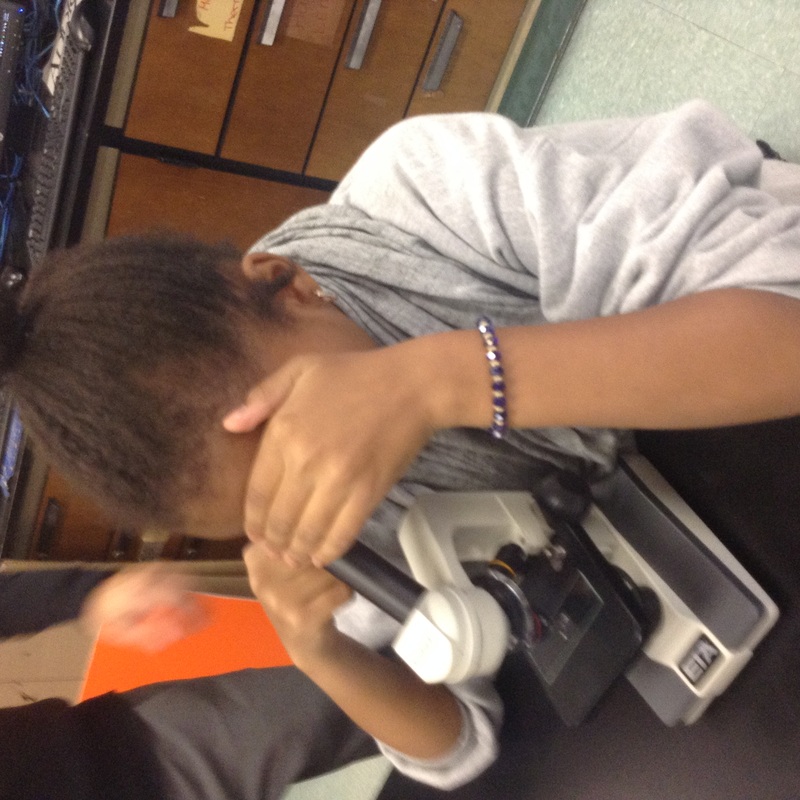
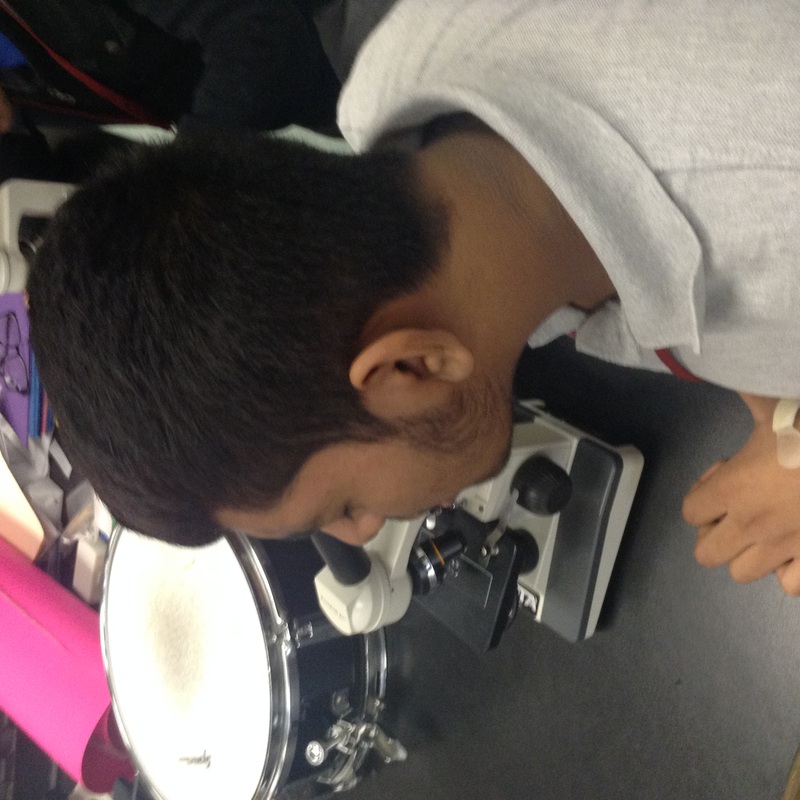
This aquarium model has a PVC frame and a measuring container within the frame that holds the daphnia.
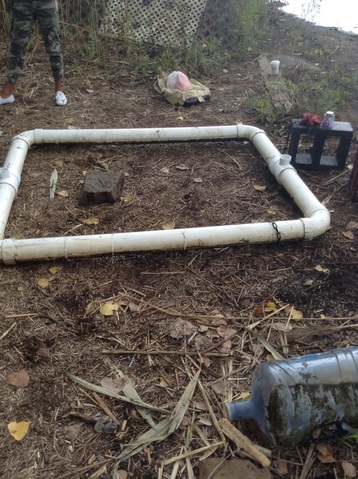
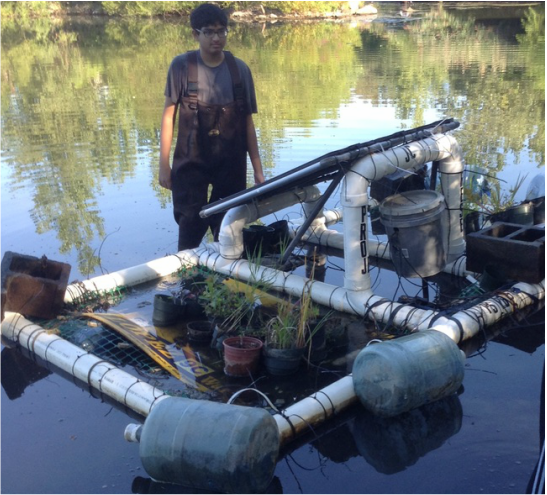
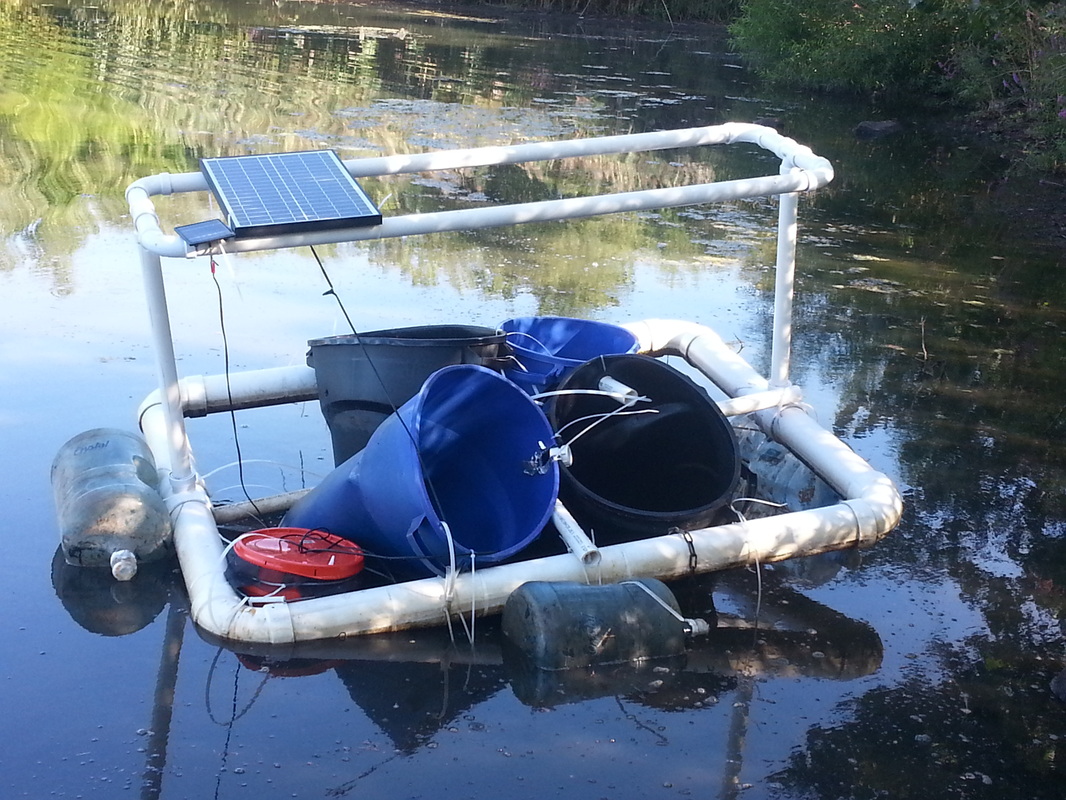
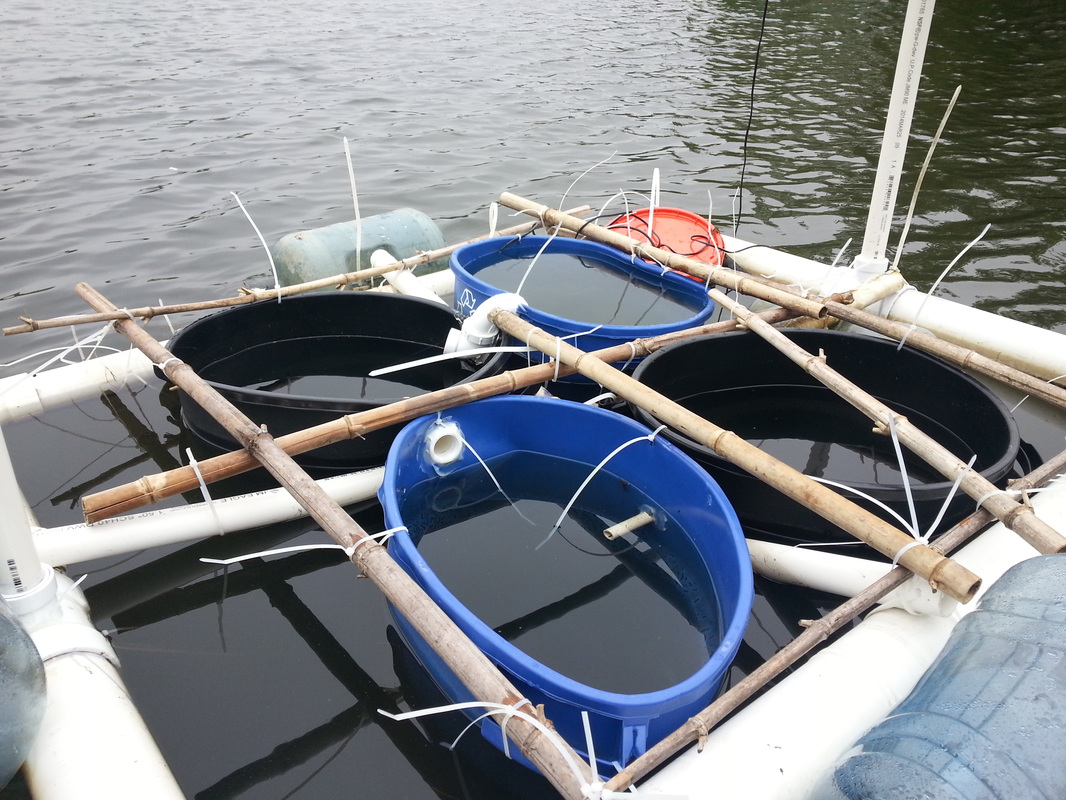
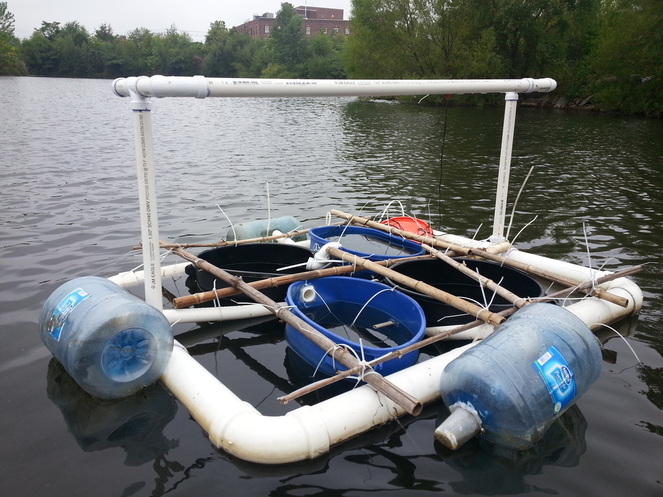
This chinampa frame was our team model to go above and beyond and take our project to another level into the reservoir. With the help of our teacher Mr. Naatus we recycled an older team broken chinampa and used it to our advantage. We used primer, pvc glue, and pvc pipes to make certain part of our chinampa you will see soon.

Our filters are the trash cans. On the design on the bottom of the page later on it will be connect by a zip tie and a frame will hold it together.
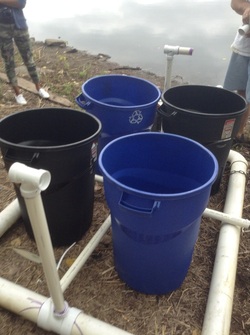
Our filters are seperated by pvc pipes for a reason being that we want a cycle to go through making algae end up as clean water.
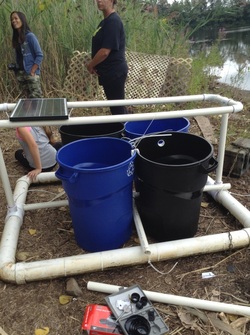
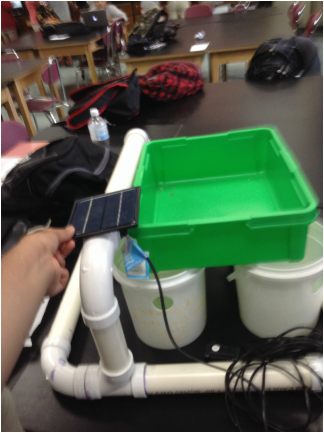
The top part of our model chinampa is the solar panel frame to allow a pump to allow the water in. This is the picture before we put our model chinampa into the reservoir. Our pictures of our the chinampa in the reservoir.
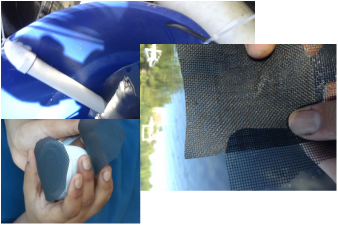
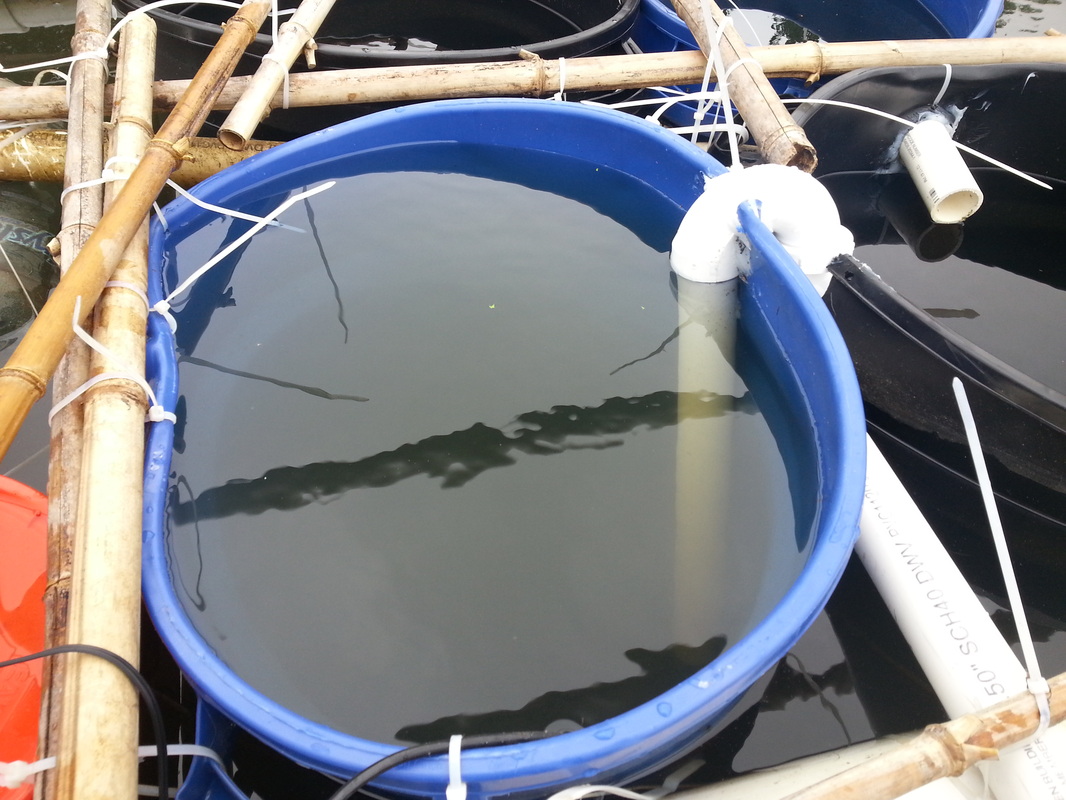
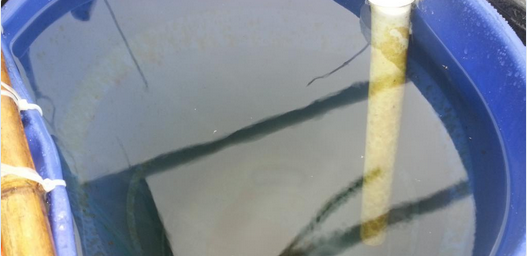
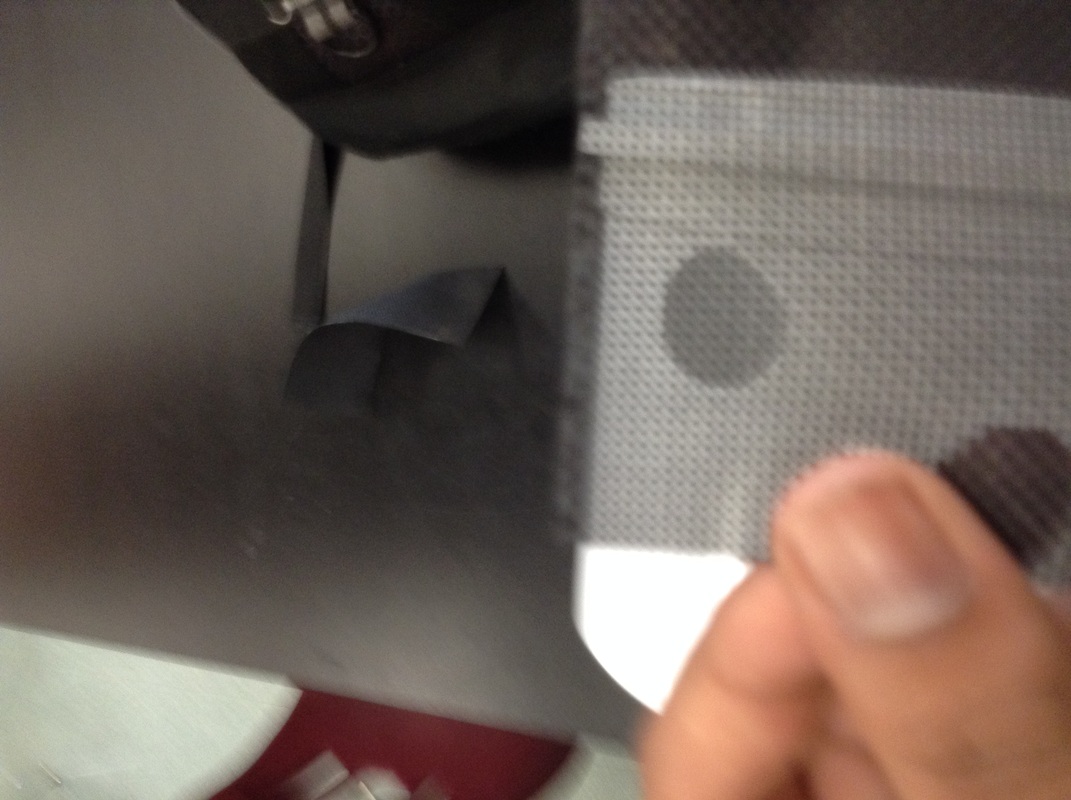
Our first filter(Blue Recycle can) has a pump connected to it by the fine black wire above the material I'm going to talk about later) the pump pushes algae water into our filter. The pvc pipe is based off a Septic Tank which one of our teacher has experience with. The pvc pipe's water level and water level of the filter are almost identical elevation because how we designed. As the water level in the filter rises the water level in the pvc pipe rises too. The process is slow but it because it takes times for our Daphnia and Amphipod in our case to clean the algae water. The material is the really dark colored and thick netting. Our team compared the last material we used for our prototype Chinampa to the one we are using now. The material we are using now is in the pvc pipe(There is a picture of it below) it is in between the intersection where the first filter water come out. To prevent our Daphnia and Amphipod from escaping.
Algae Chinampa's Error
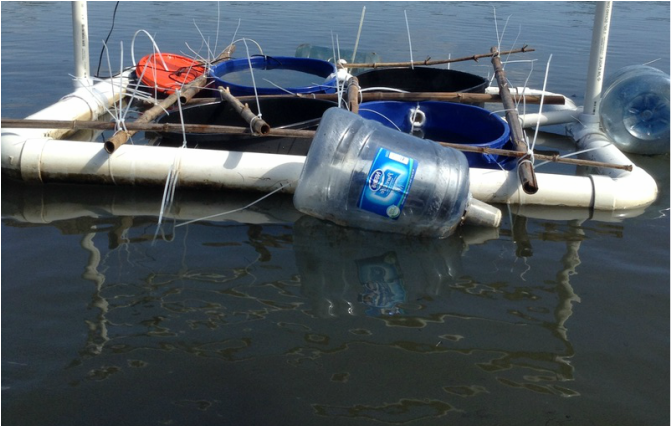
This picture might be confusing but let me explain. Our Model Chinampa otherwise known as the Algae Chinampa is a simple designed chinampa. When were first building our chinampa, the locations we drilled the holes to let the algae water move to the next tank was cracking causing us later on to insert a PVC pipe ( basically Our Septic Tank), and we added silicon to fix the problem but we are not 100% sure if it was solved. When we put our chinampa in shallow water, the recycle can / trash can floated up (If we had our Amphipod or Daphnia in there, they would've been harmed). Hopefully we fixed the problem by recycling bamboo from our reservoir, and making a bamboo frame above the pvc frame of the chinampa (picture down below), but we still are not sure if it will work ... Time will tell.
"Looks can be deceiving" ~Anonymous
This is the bamboo frame, it might look weak but in truth it is held on by zip ties that are really tight. You might say the bamboo is weak, and as a comeback this bamboo lasted more then two years at our reservoir with all four seasons, hurricane winds, and are still really strong. We recycled this bamboo from a previous team's chinampa, called the Community Chinampa which was used to grow tomatoes.
This is the bamboo frame, it might look weak but in truth it is held on by zip ties that are really tight. You might say the bamboo is weak, and as a comeback this bamboo lasted more then two years at our reservoir with all four seasons, hurricane winds, and are still really strong. We recycled this bamboo from a previous team's chinampa, called the Community Chinampa which was used to grow tomatoes.
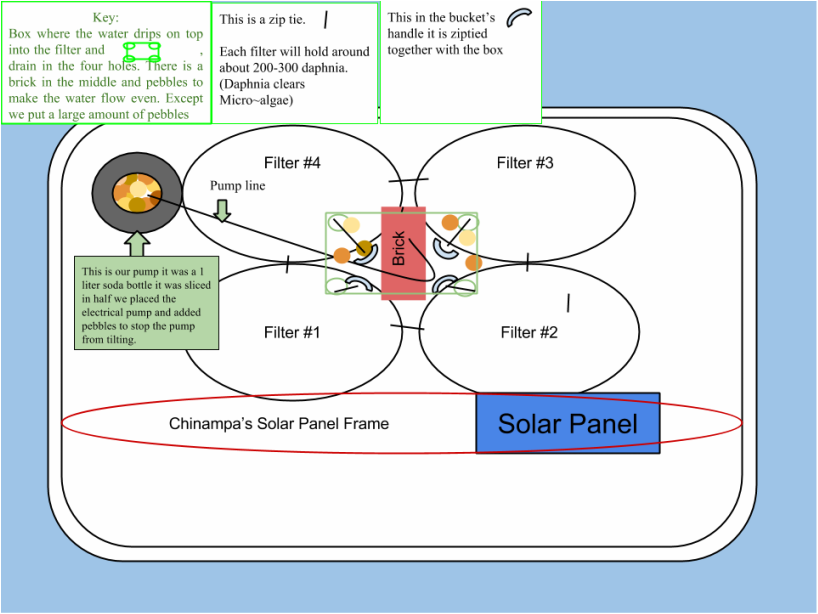
Algae Chinampa's Diagram
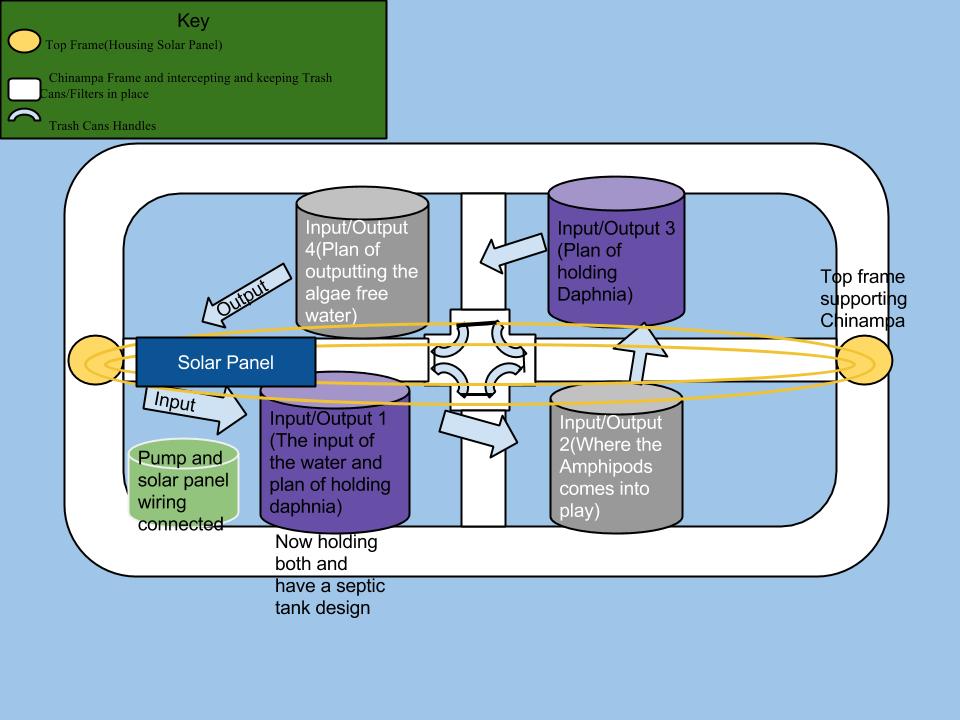
Initial design plan, which has changed as discussed above. Currently there are only animals in Input/Output 1, although there is flow through the entire system. We will need to add more after we determine that the initial ones that we added are doing well.
|
|
9/21/2014 UPDATE:
Both Daphnia and Amphipods were observed within Input/Output #1!
They are surviving in the wild!
Both Daphnia and Amphipods were observed within Input/Output #1!
They are surviving in the wild!
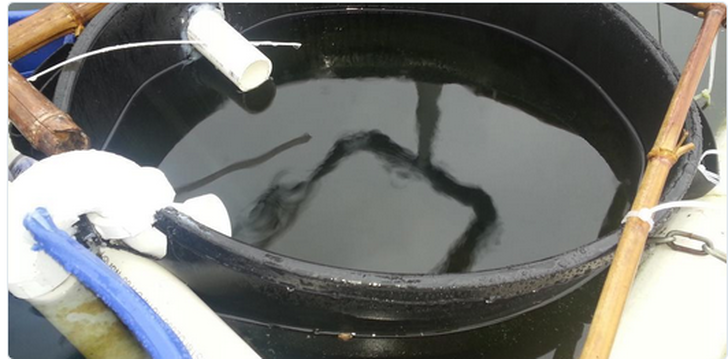
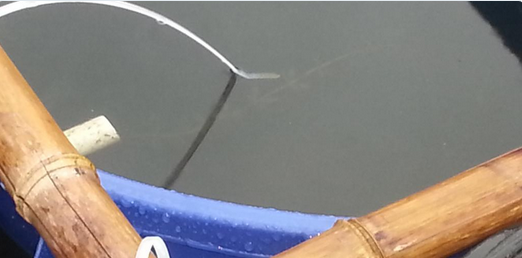
Chinampa Update 10/5/14
The water from the Reservoir in Input/Output #1 is clear! Our Tag Team Champs - Daphnia and Amphipods had some assistance from snails from the Reservoir that somehow got into the system.
Notice the difference in water clarity in two of our other input/output cans that have no daphnia and amphipods!
Our solution not only works in lab but also in nature!
Preparing for Seasonal change in New Jersey
With consistent cold weather approaching we are not sure how long are Tag Team Champs will survive in the wild. We still want to test our Algae Chinampa so we decided to build a scale model to test in our school throughout the year!
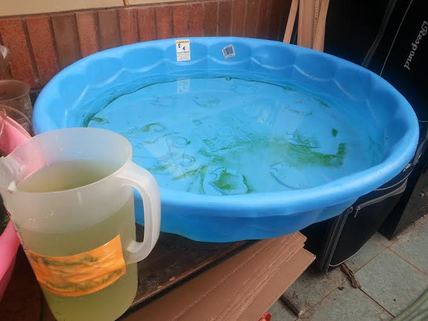
We drained the water from an old testing pool and replaced it with new water that will be seeded with algae from a turtle tank in our classroom.
Scale Model Algae Chinampa (SMAC)
At the Reservoir our chinampa design failed because of how we pumped the reservoir water to the next filter. When we were drilling into the trashcans, we didn't really drill it that well because the battery was dying causing us to make the last hole with scissors. When we placed a PVC pipe in each hole it failed for only one reason; it leaked, and the water barely went through.
|
|
|
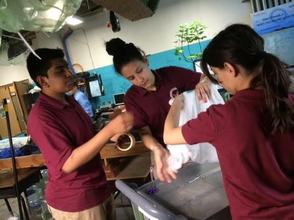
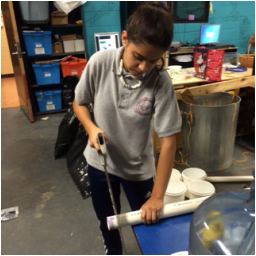
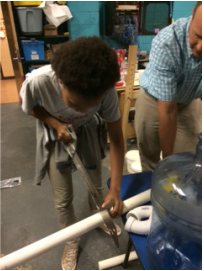
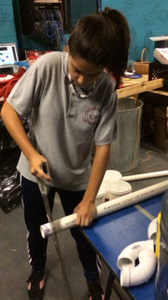
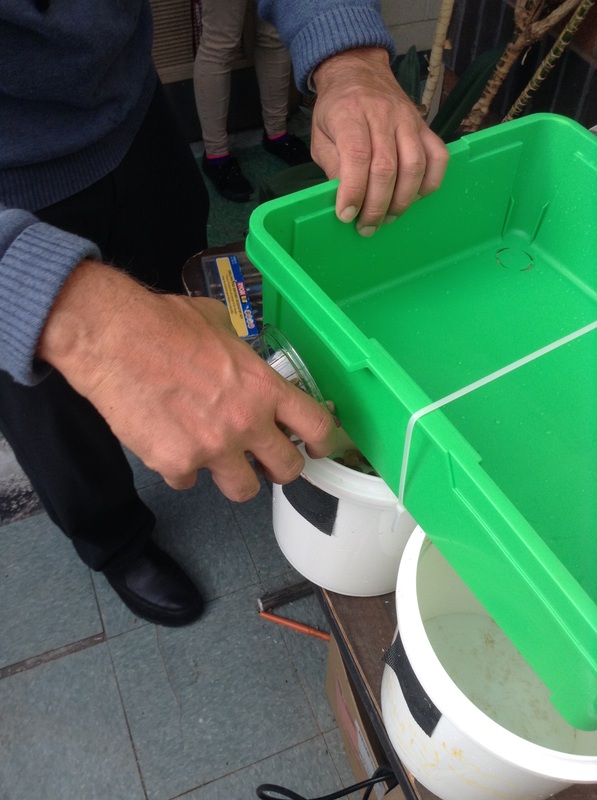
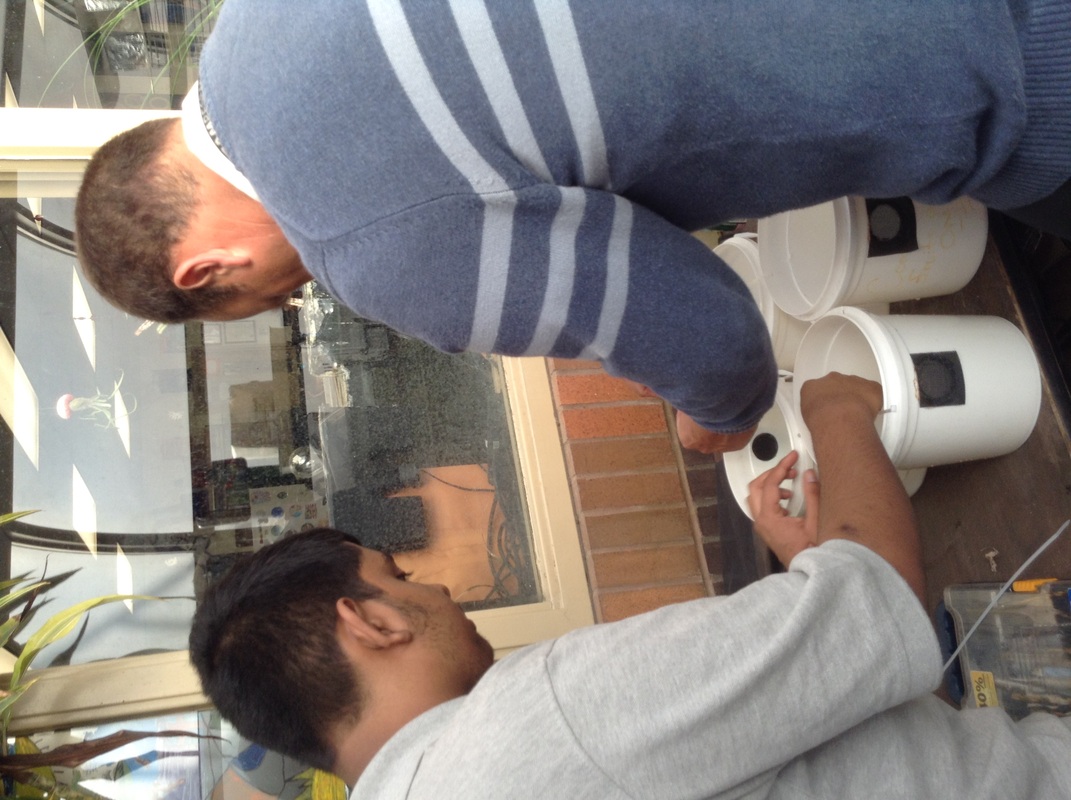
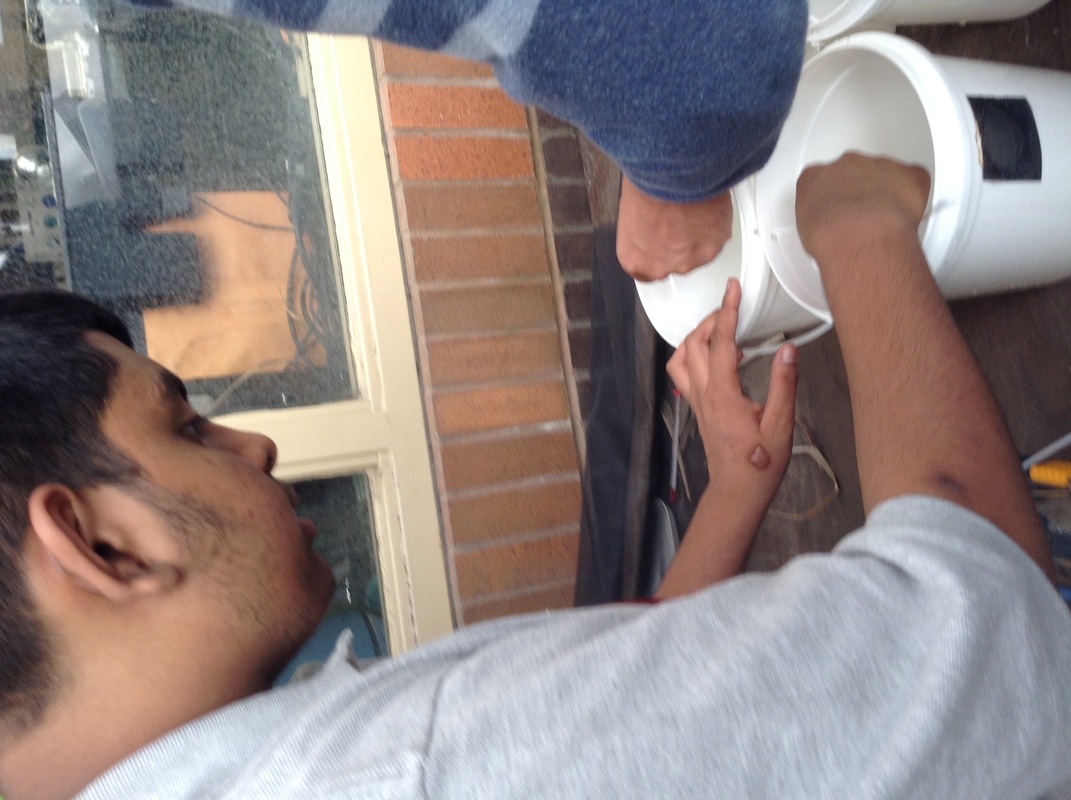
Amberrain and Gisselle cutting some PVC pipe to make a new - smaller home for our Daphnia and Amphipods to put in olur Aquaculture Lab. After we finished cutting the pvc pipe we put in a complete circle some purple primer only a little on each end of the pvc pipe we cut. The large part that had three sides and the edges we did the inside a complete circle but the pvc pipe that was meant to be there we coated the outside with primer. After that we put pvc glue the same way as the primer. Basically the primer and pvc glue we did it the same way as our chinampa.
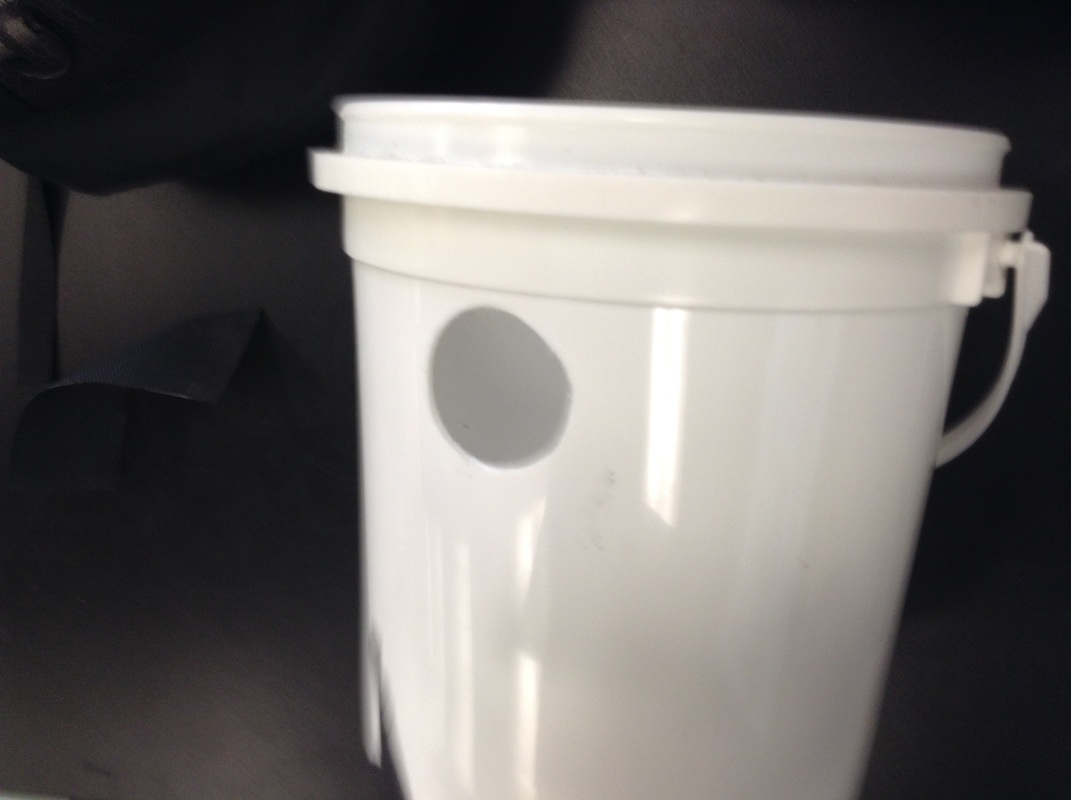
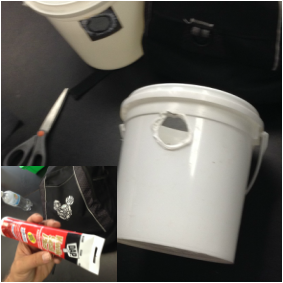
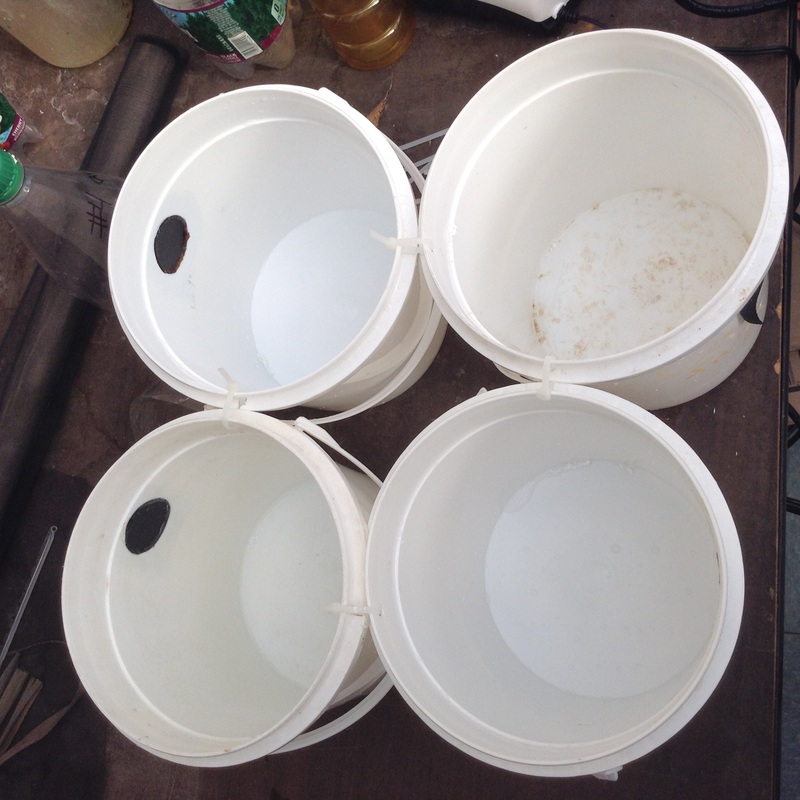
We made holes in four buckets that were the same size and shape.
|
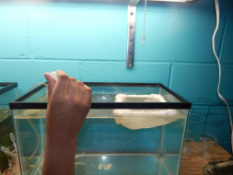
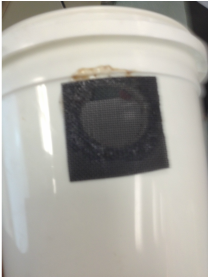
We used this material as a filter to stop macro algae and our daphnia/amphipod from escaping similar to the chinampa at the reservoir.
|
We put silicone on the outside rim of the hole so that the filter could stay on and so the the water didn't / will not effect it.
|
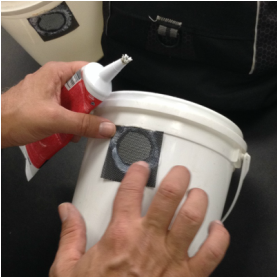
We placed the material on the silicone and pressed the material onto the silicone.
|
We let the silicone dry for two days.
|
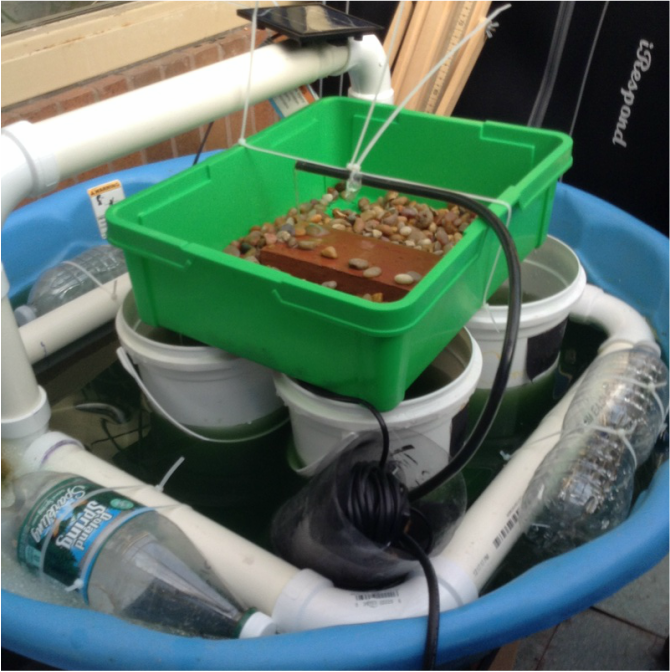
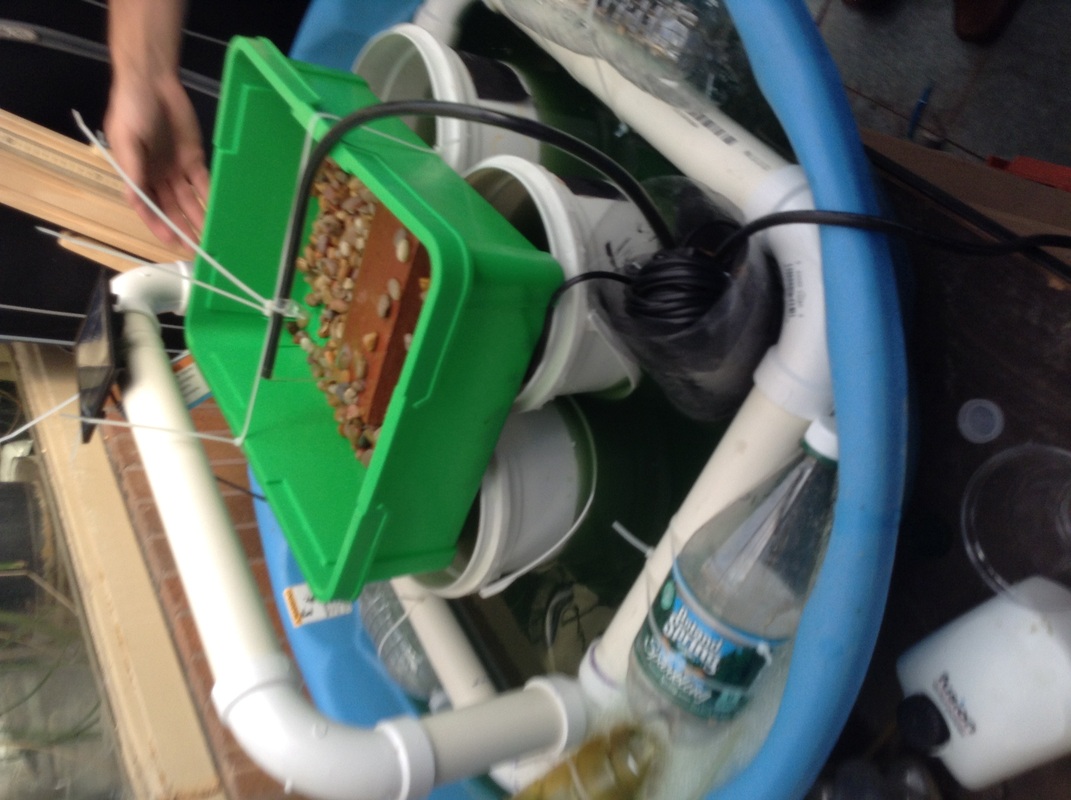
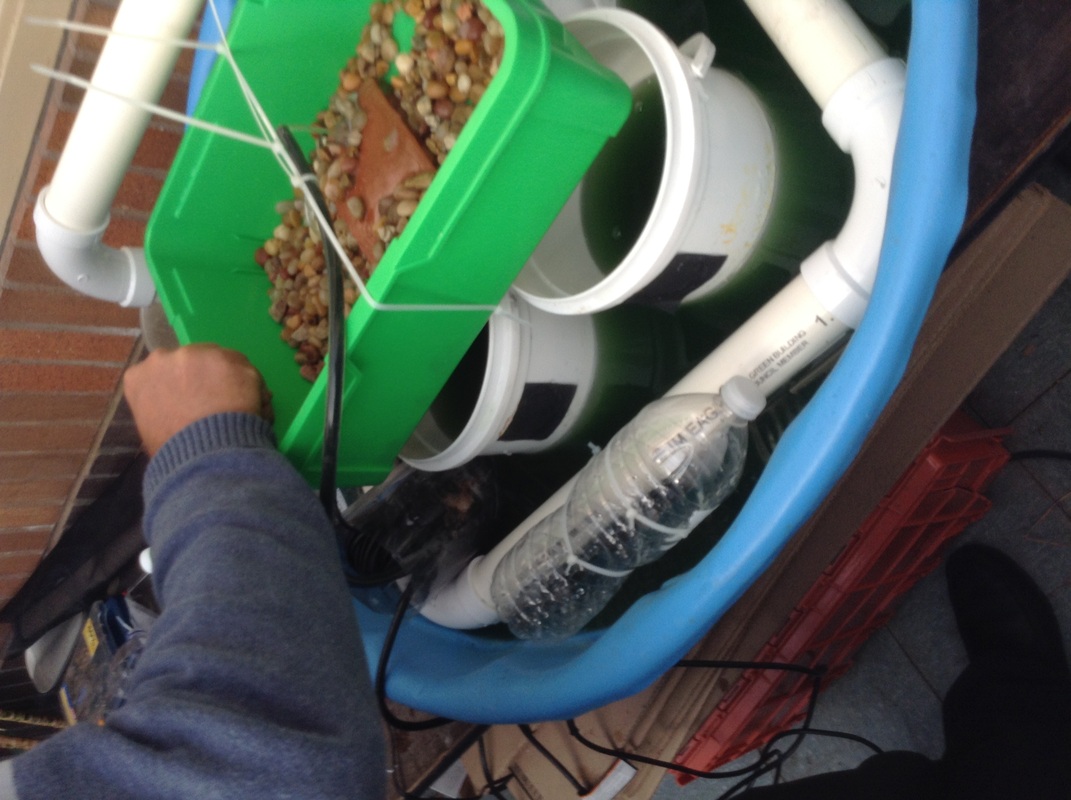
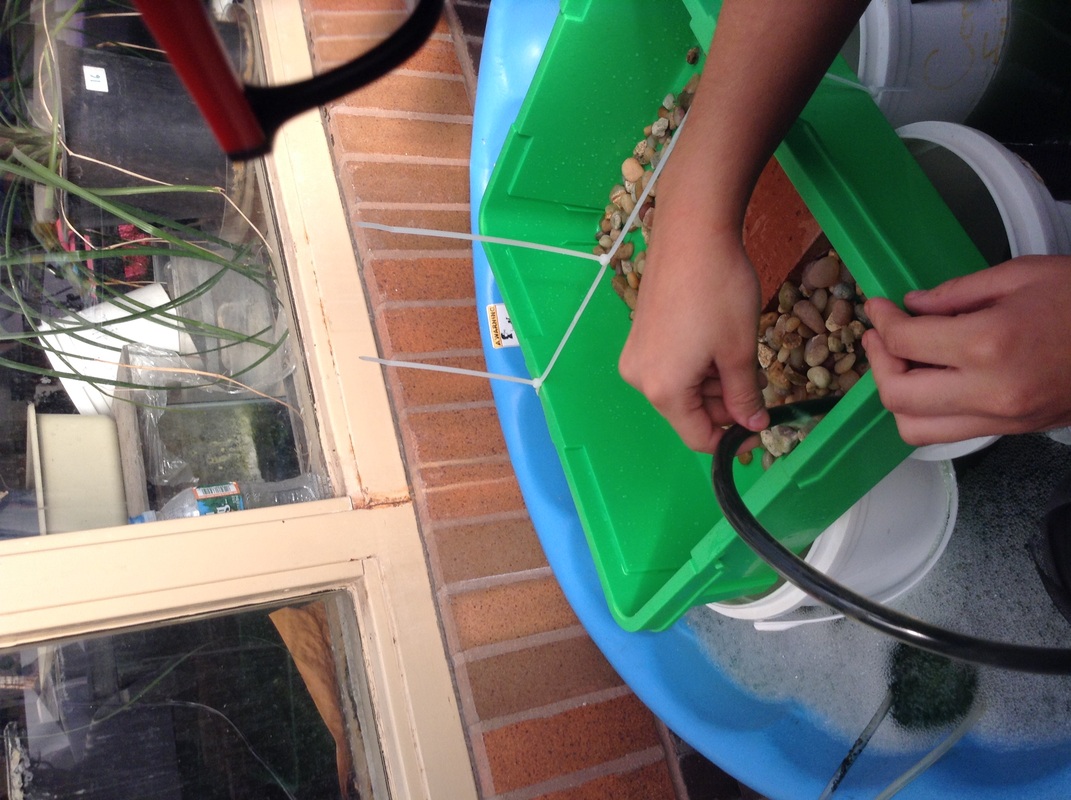
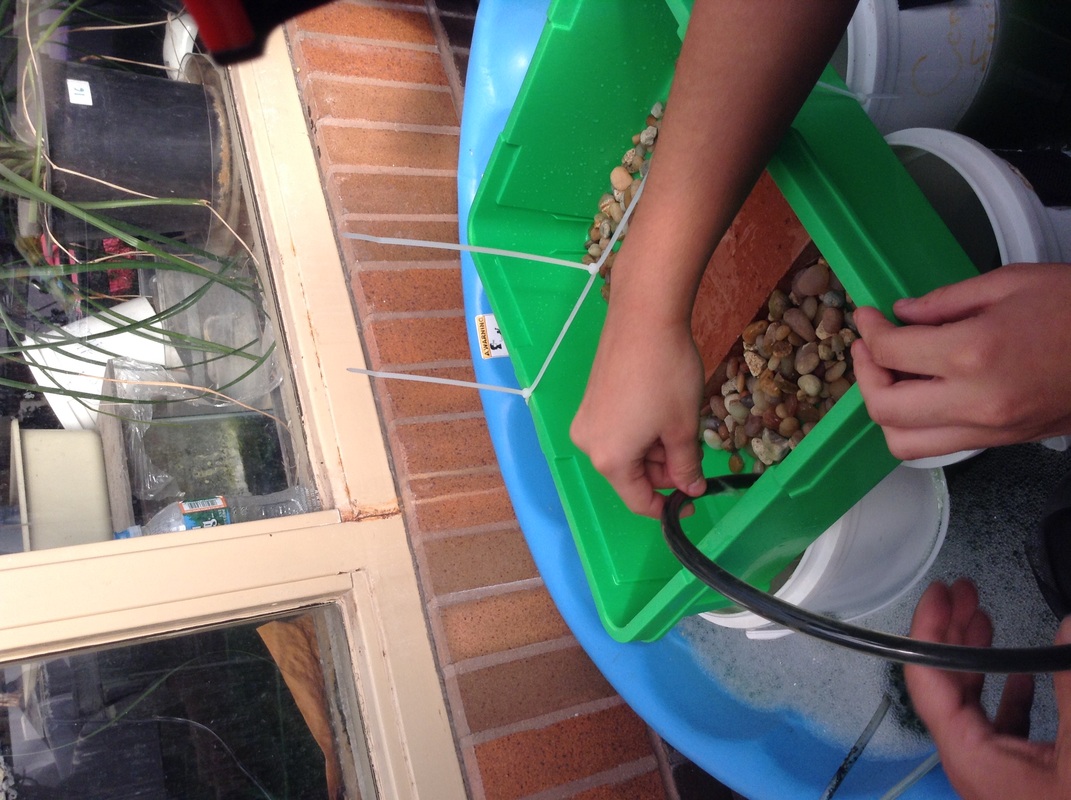
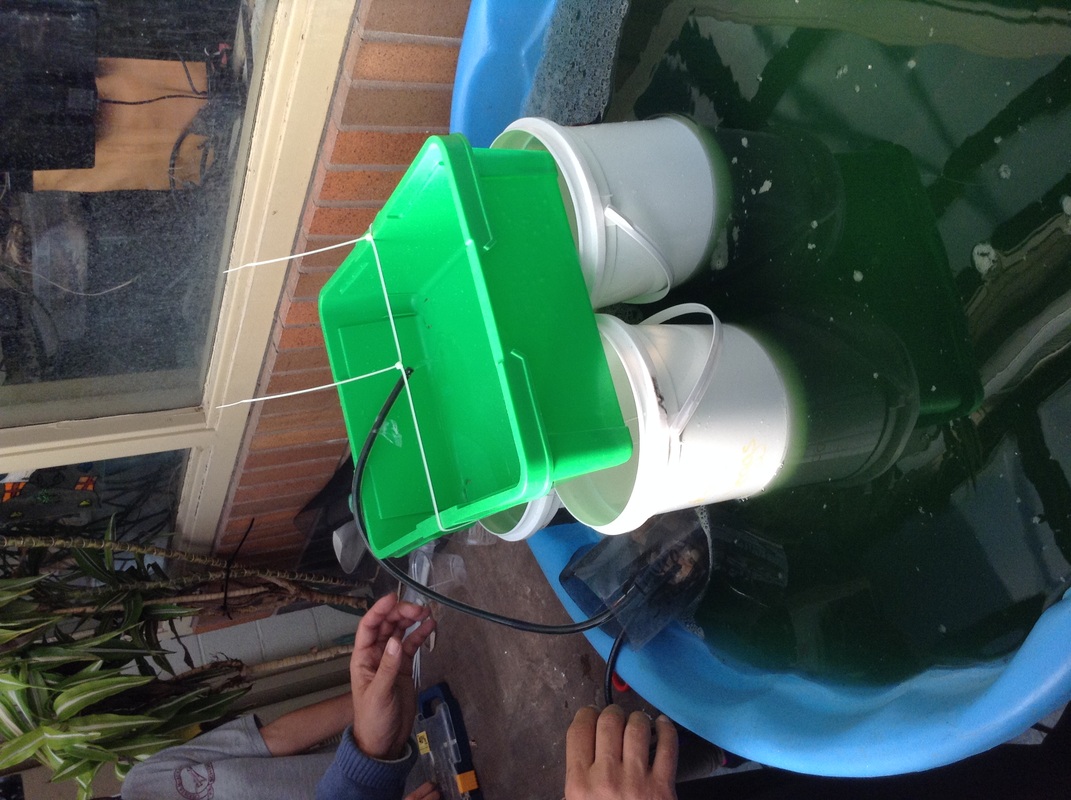
SMAC (so far)
|
|


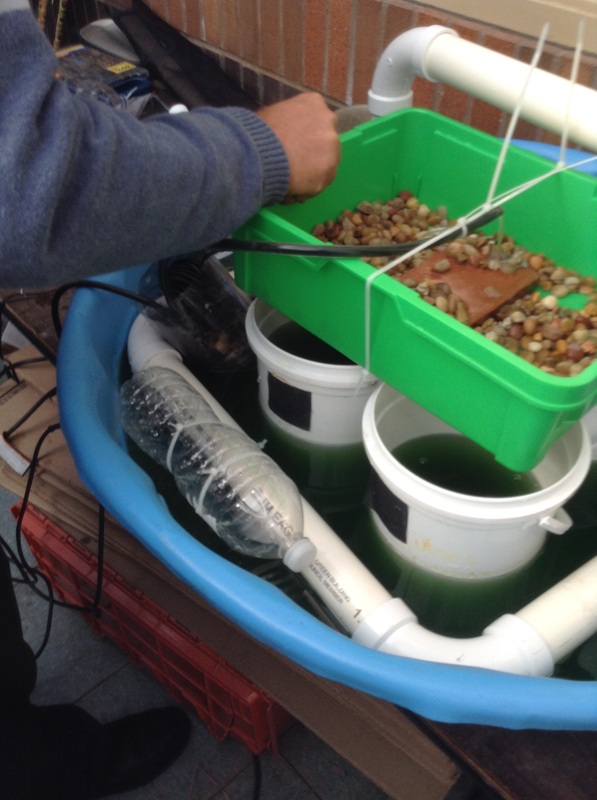
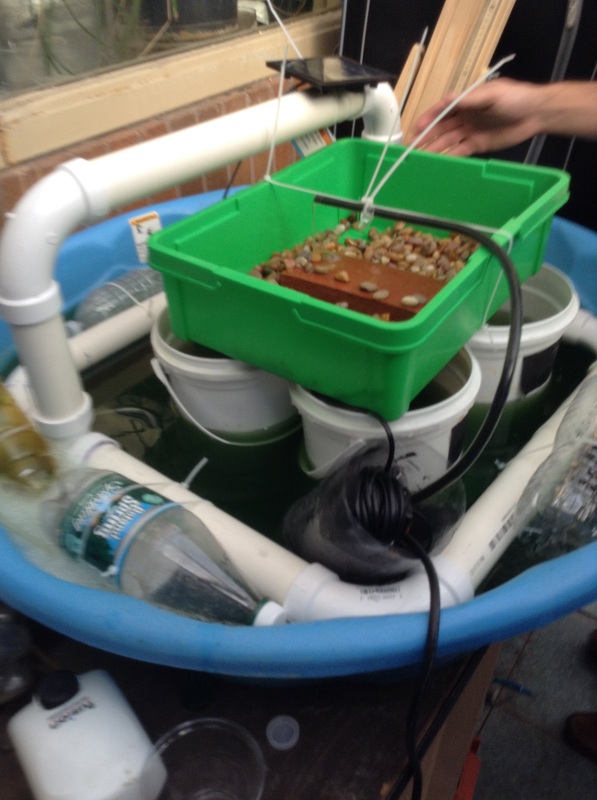
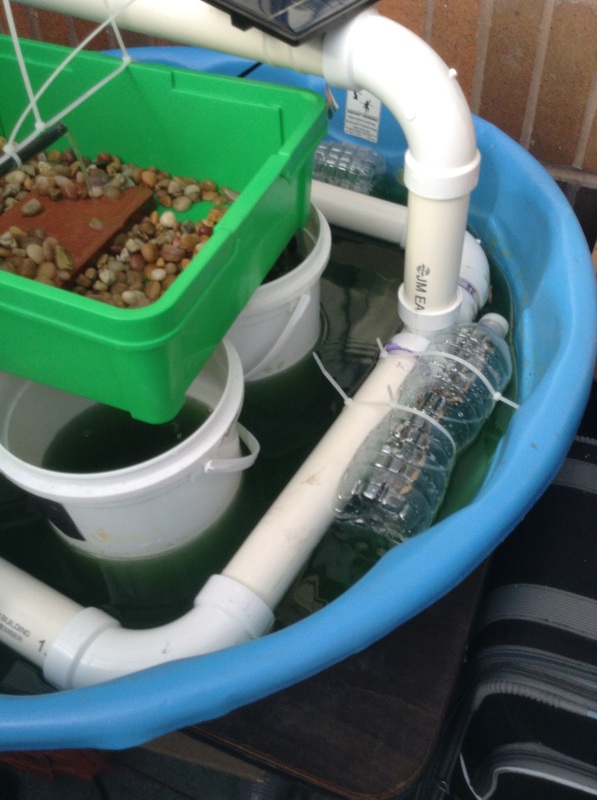
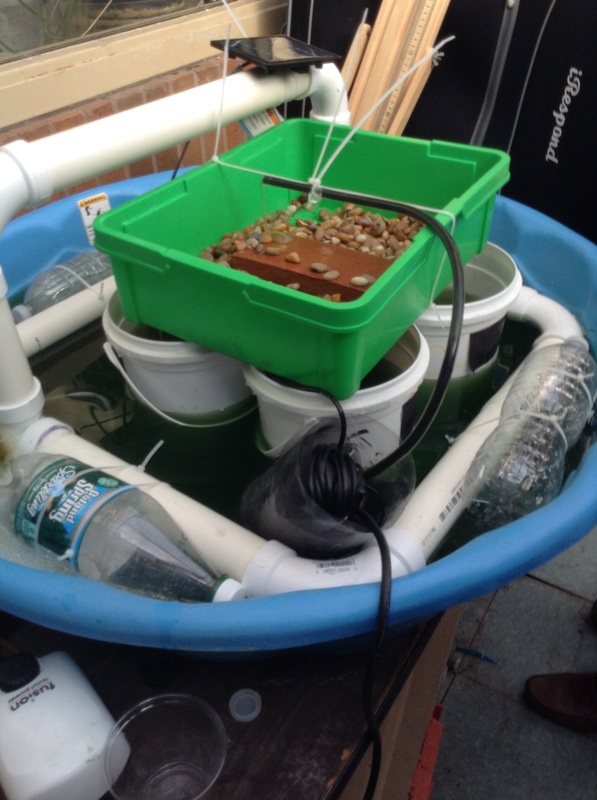
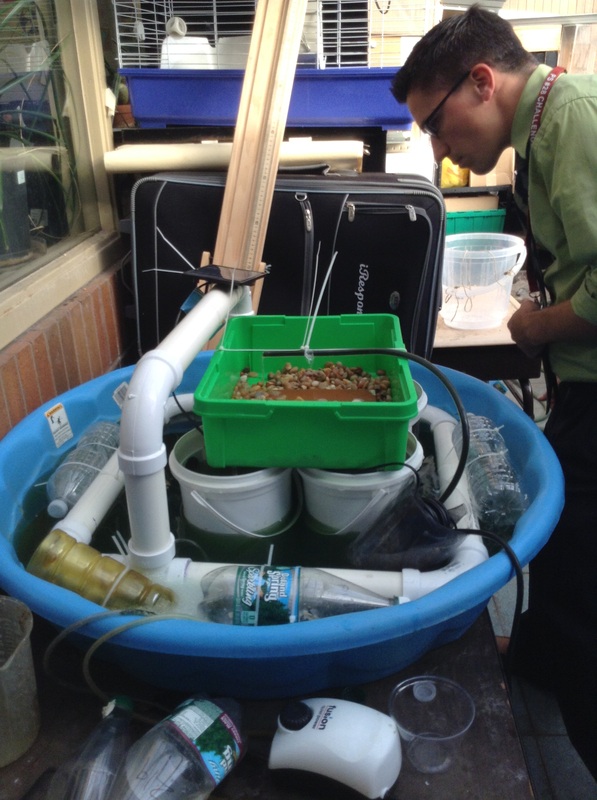
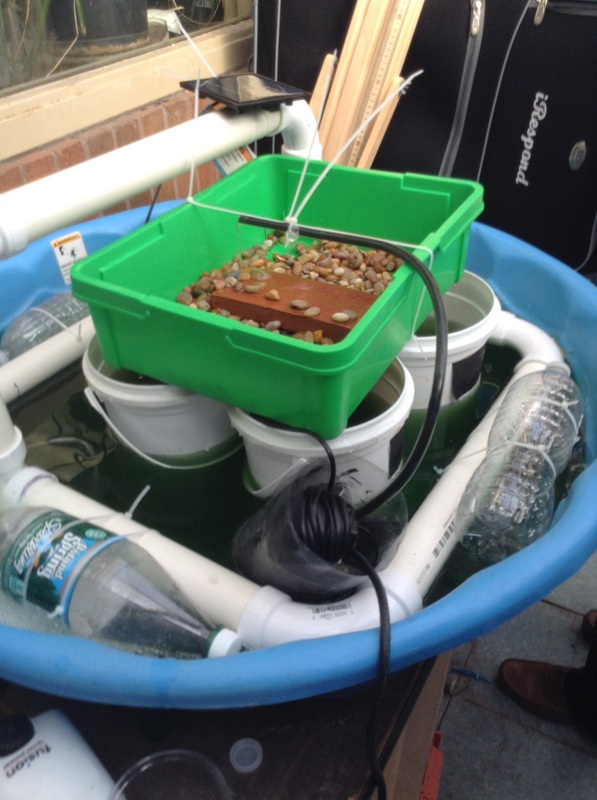
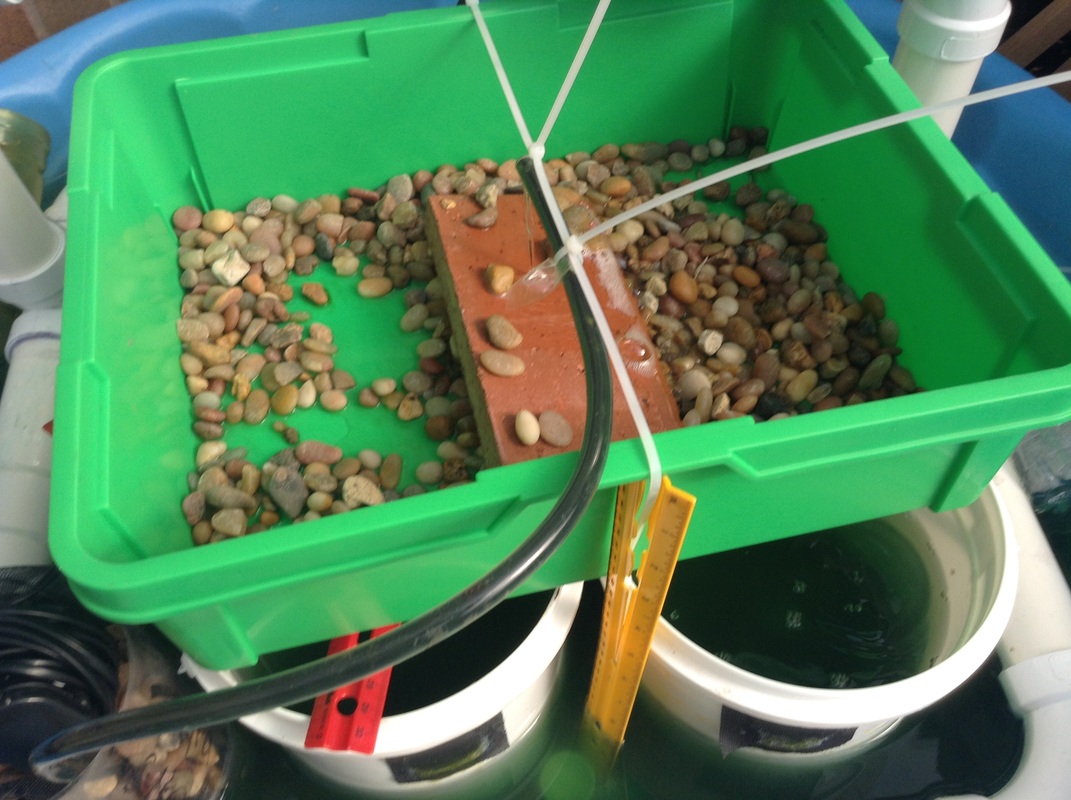
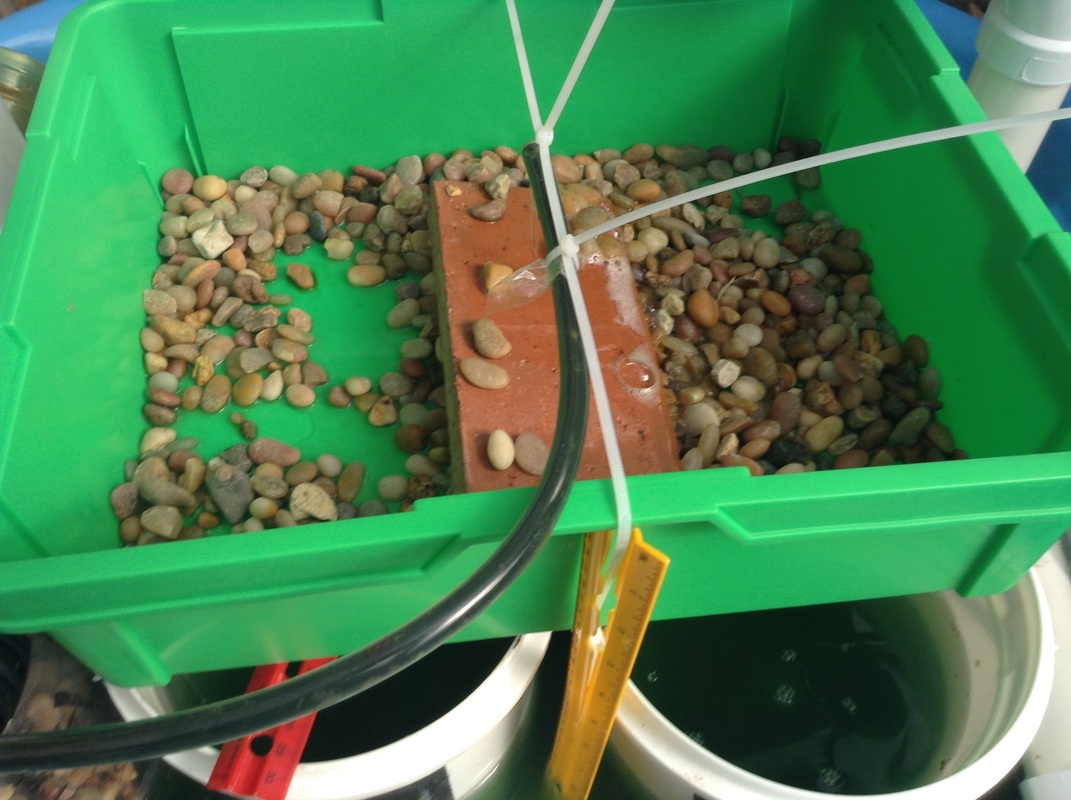
We finished our chinmpa! Since we didn't want our chinampa to tilt and have an uneven water flow, we added a brick and rocks to the box.
Quick Update 10/17/14
DIAGRAM FOR SMAC
Chinampa Testing
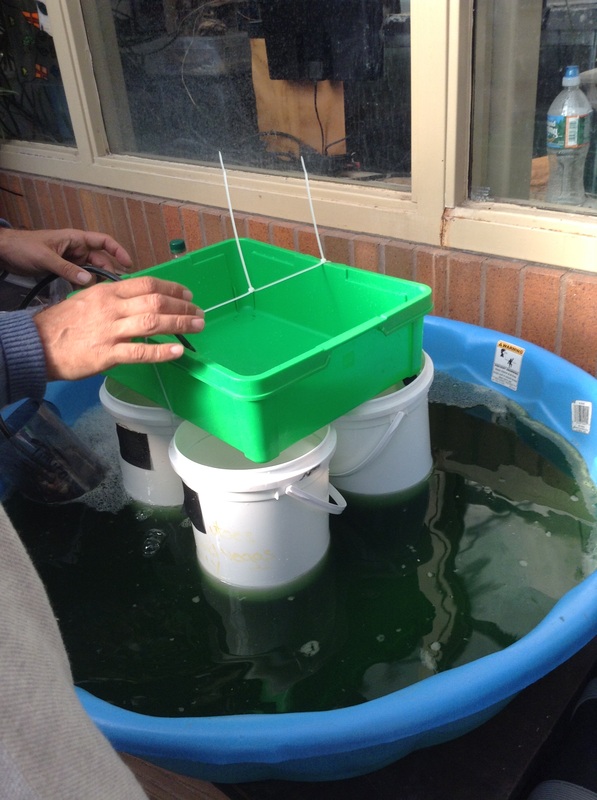
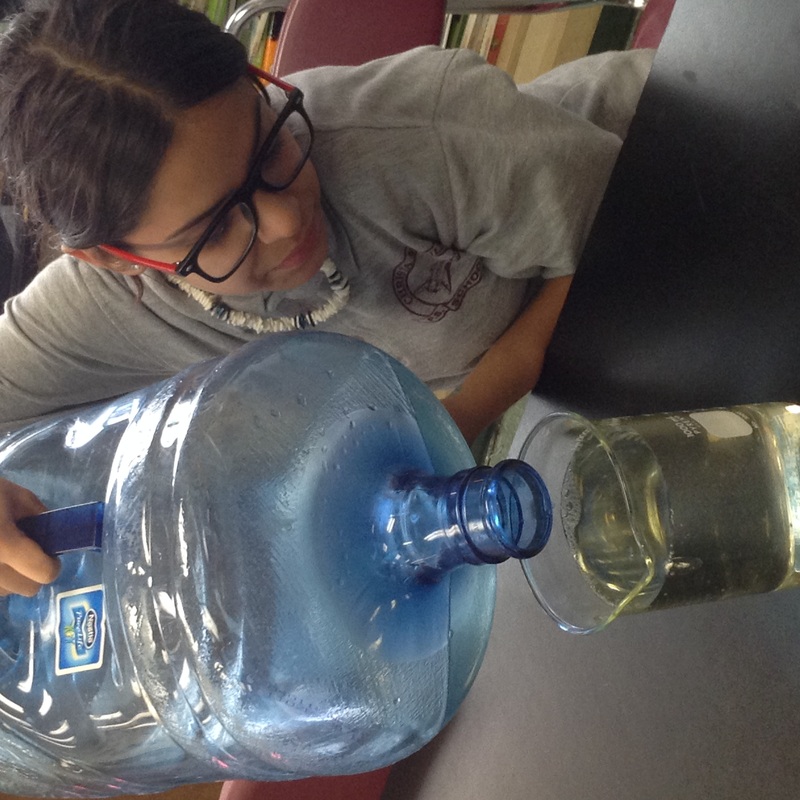
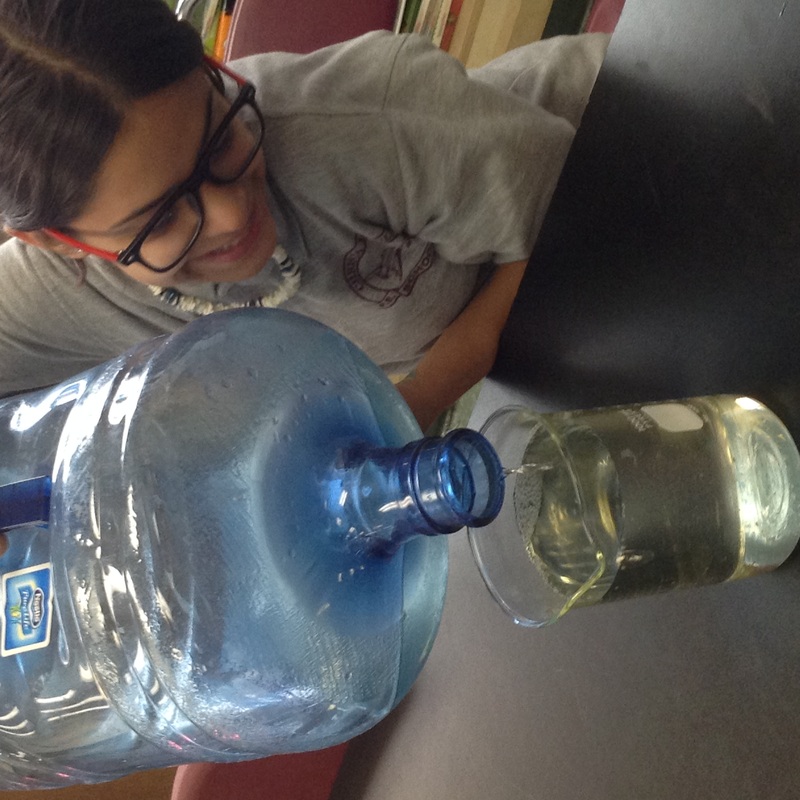
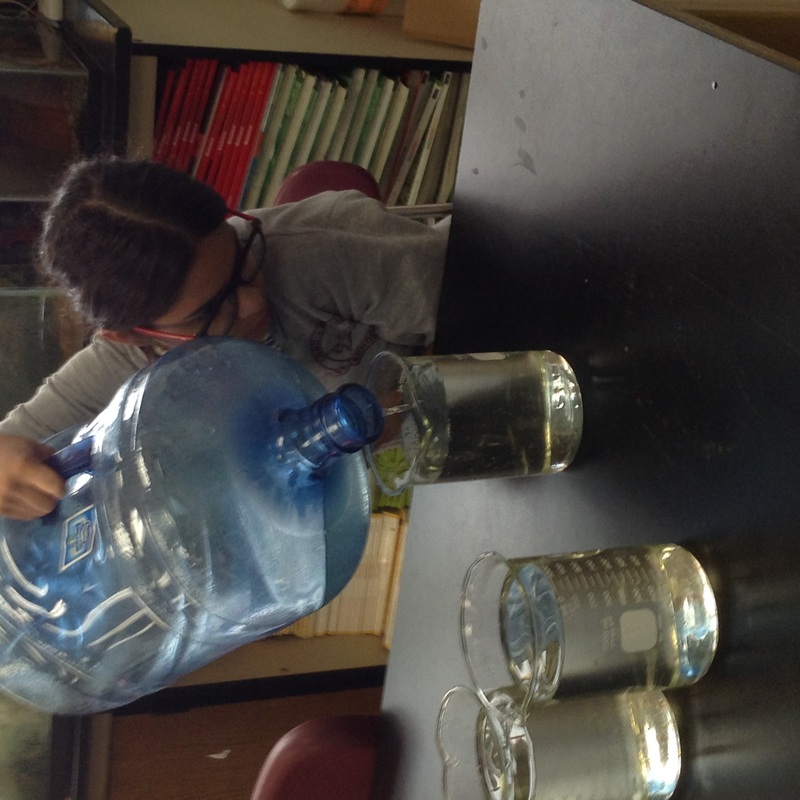
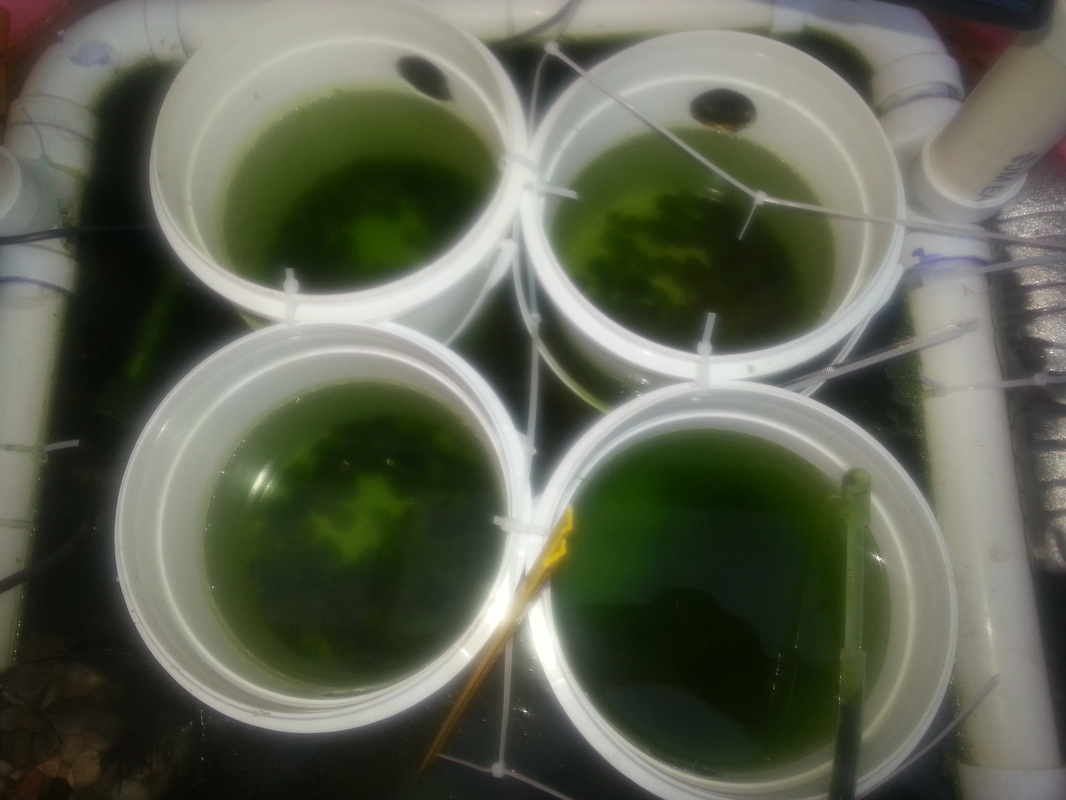
We cleaned out the blue pool and our team poured a whole culture of our turtle algae inside the pool. When we placed in our chinampa it was a perfect fit. In each filter we put 1000ml of water filled with daphnia from the culture downstairs.
Day one (October 14th,2014)
During day 1 we did a lot of things, the main thing we did was place the chinampa in the blue pool. There will be soon a video down below of the first water flow (Time-lapsed still working on it) . Most of the photos from day one areone this page already on scale model btw


DAY 2 (October 15th,2014)


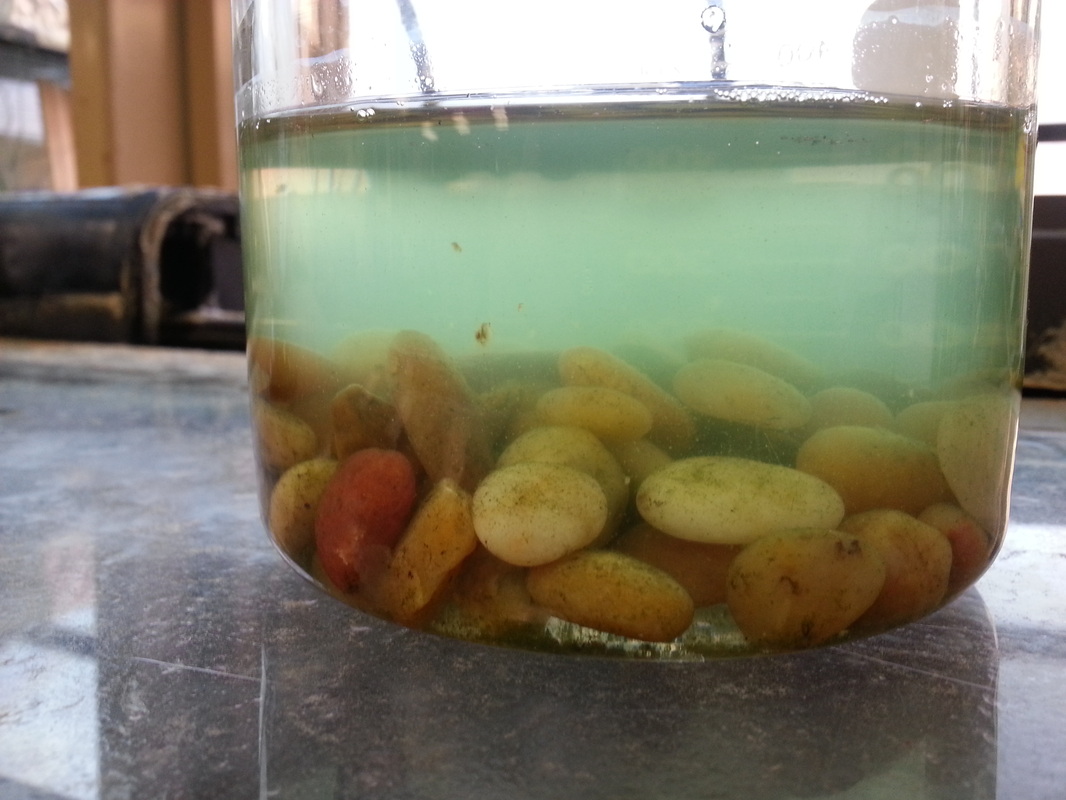
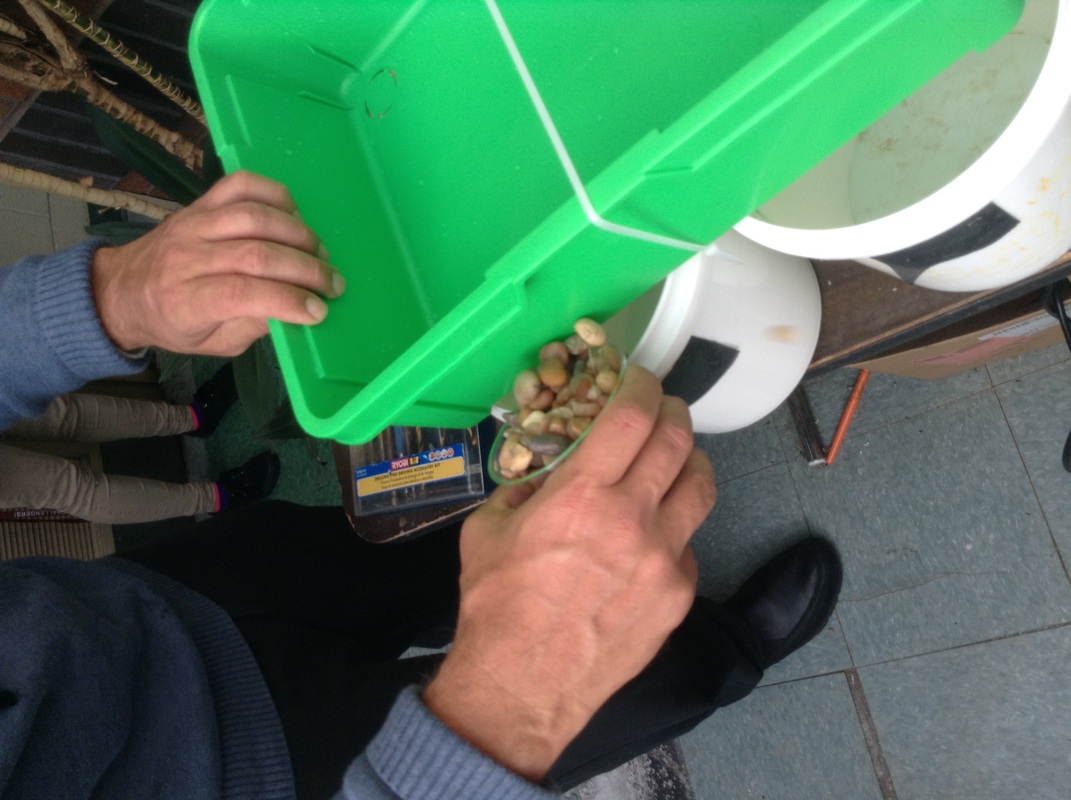
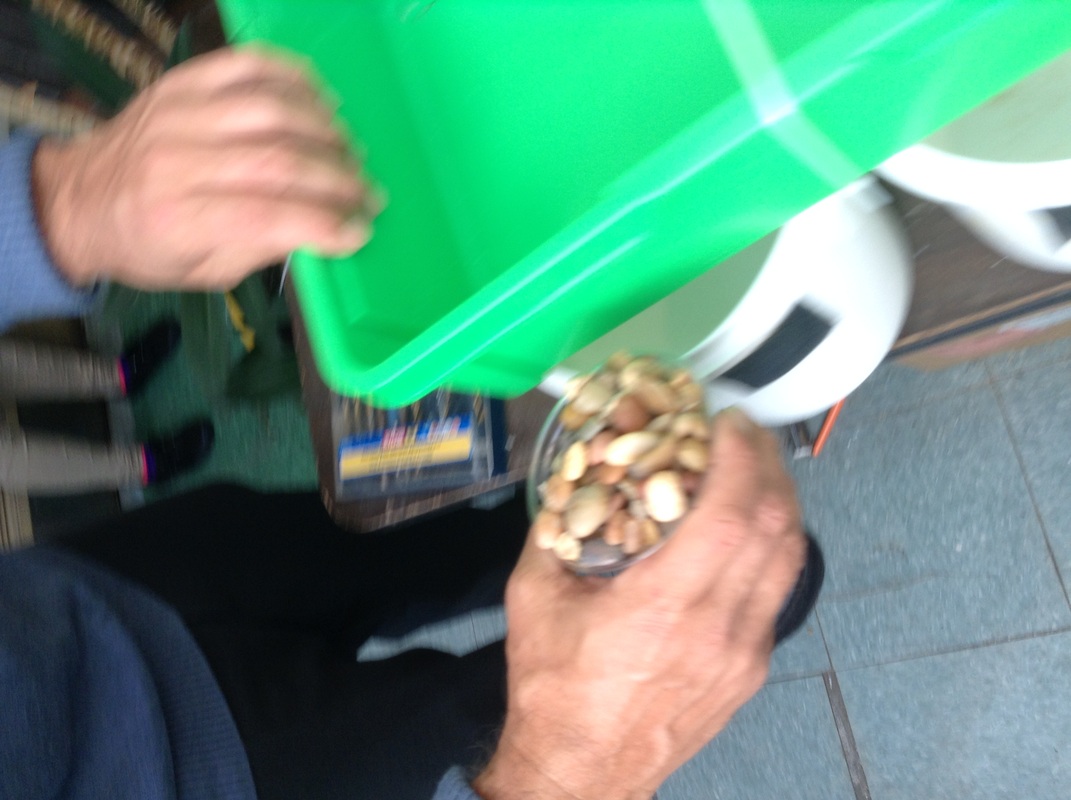
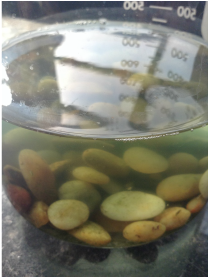
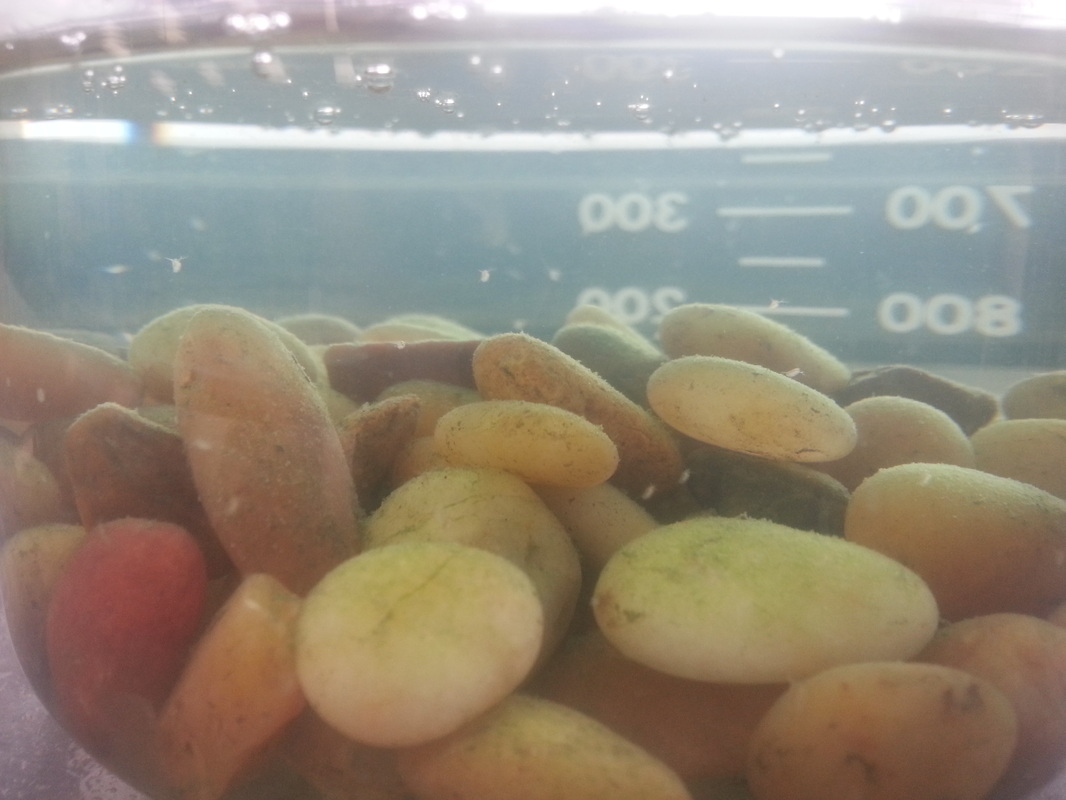
Our team added two red plastic rulers to the bottom of the green bin because the table the blue pool was on wasn't even. The yellow ruler was to measure how far we can see the algae water.We added more aquaruim rocks in the pump because it kept falling. I forgot the name that you call the tool but we made something similar to measure the density of the algae water when we first started but we lost it. Well, Kevin one of our member could see up to 5cm. We didn't see a lot of daphnia and had a hypotheses maybe there was a flaw in our chinampa when in each filter there was probably around 200-300 daphnias. So we did some daphnia testing using the same aquarium rocks, turtle algae water, and some daphnias.
Day 3 (October 16th,2014)
|
|
|
Okay on day 3 our group was completely confused with the chinampa. Why you ask, well when we looked we could find any daphnia and the water that was output wasn't that dense. The daphnia test was doing well it didn't seem like any daphnia in the cup died but on the other hand with the chinampa we had no clue. But we had a huge error on that day being that the phone's camera we used to take the daphnia testing picture was different and on a different angle.
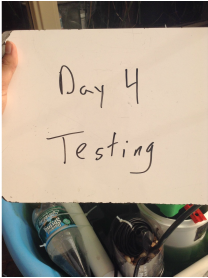
DAY 4 (OCTOBER 17TH, 2014)
|
|
|
Day 4 everything except the daphnia testing looked identical but we took that picture with the day one camera. That is 3 days in algae water about 10 adults added.
A weekend passed...
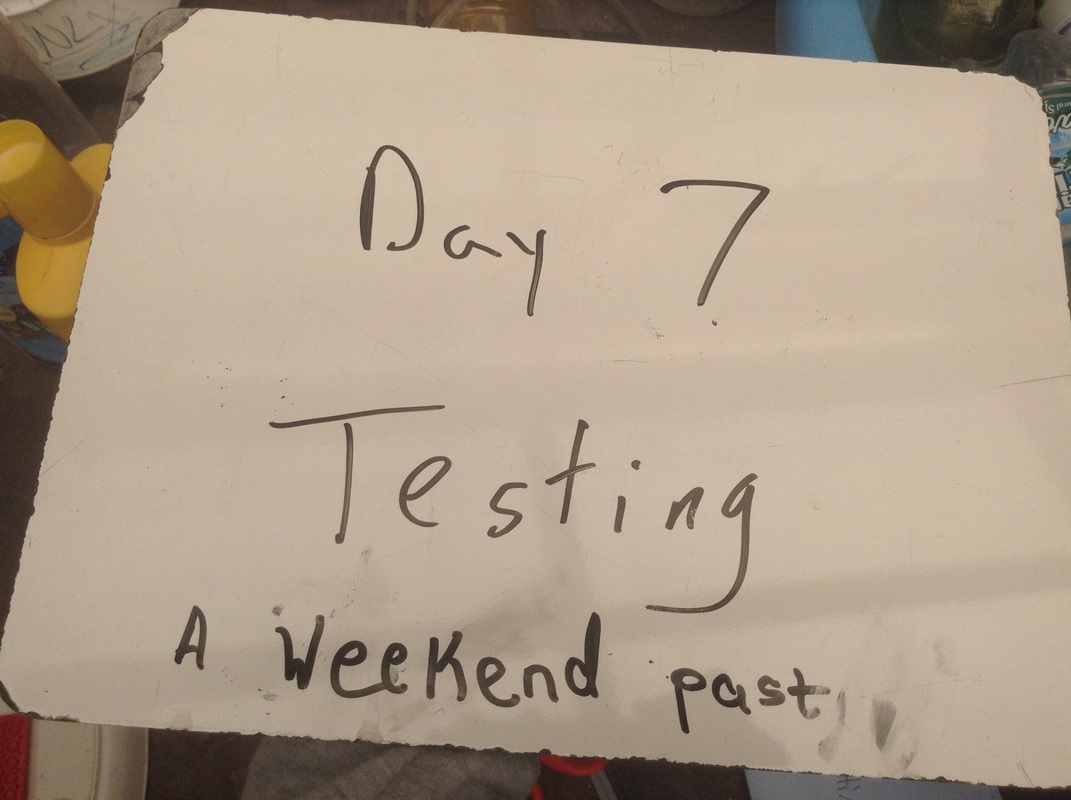
DAY 7 (October 20th, 2014)
|
|
|
On day seven we didn't take any good pictures but the major changes were that we removed the brick. We have a video that will be uploaded later. But a huge error is that we forgot about the daphnia testing. But we added more daphnias to the chinampa. We placed some in each filter but except we added some outside the chinampa in the algae water to test if there would be an effect. But the pictures above was when we took samples from the blue pool that were out of place. "Out of place" what does that mean you might be saying but the silicone we were using was really old when we opened it the color at first was brown. So we took some sample of that mysterious white stuff and some turtle algae and we both compared them.
The chinampa testing stopped (reason down below)
We thought that in the blue pool there was something killing the daphnia. Maybe the miracle grow we put in the turtle algae didn't dissolve so we put a new batch of turtle algae in the pink pool and started new testing. After another round of daphnia die-off we were back to the drawing board....again!
New Test - A Weekend Without Flow (for 3/4 daphnia buckets)
We decided to turn off the pump to determine if the water flow was killing the daphnia. In our Reservoir Algae Chinampa the daphnia and amphipods are located within garbage cans with a flow similar to our model algae chinampa so there is a big difference in how the daphnia come in contact with the flowing water in both models.
Turns out that the flow of the water was in fact what was killing our daphnia! After we shut the pump off on Friday to all but one of our daphnia buckets, we came in school on Monday and found daphnia moving around all of the buckets except the one that we kept the flow on! We were even able to see the bottom of all three buckets which means the daphnia were doing their job! Another lesson learned for us. We now have to fix the flow with some type of timer of spray bar with very reduced flow. Stay tuned.
Turns out that the flow of the water was in fact what was killing our daphnia! After we shut the pump off on Friday to all but one of our daphnia buckets, we came in school on Monday and found daphnia moving around all of the buckets except the one that we kept the flow on! We were even able to see the bottom of all three buckets which means the daphnia were doing their job! Another lesson learned for us. We now have to fix the flow with some type of timer of spray bar with very reduced flow. Stay tuned.

Mod Chinampa V.2
SMAC version 2 is a chinampa which is uses our old parts but it function better than any chinampa yet.
The first picture is Kevin cleaning out the container which waters flows out. We had to clean out the rocks really well to make sure there wasn't a lot of leftover algae from the previous tests. The next photo is of our pump which was in a bucket so we could test if we needed to do any modification. If you look at the third picture down this is a photo of Kevin again collecting duck weed because once duckweed spread it a hassle to get out. The fourth picture is of the
Mod V2 Chinampa Diagram

